how to caulk a kitchen sink

Have you got a kitchen sink that hasn’t been caulked? Not sure if it is something you can do yourself, or if it even needs to be done. We have you covered with an easy to follow 5 step tutorial from a professional caulker. We are the leading Caulking Melbourne company with a team of 3 caulkers and over 10 years experience.
First Off Before We Get Into The Tutorial. Does is need to be done? YES.
Weather you have a stone, Timber or laminate benchtop. Then benchtop is put in place before the sink is. The sink is most likely put in place and stuck down in some spots with silicone by a plumber. Which will seal some spots but then leave the others open for water to make its way through. Lets say your plumber has gone to the effort of sealing the entire perimeter of the sink. This is a lot of pressure on the silicone, and over time will potentially create an opening with movement and use.
So to save future problems. We always advise our clients to let us caulk a bead of silicone after the sink is in place.
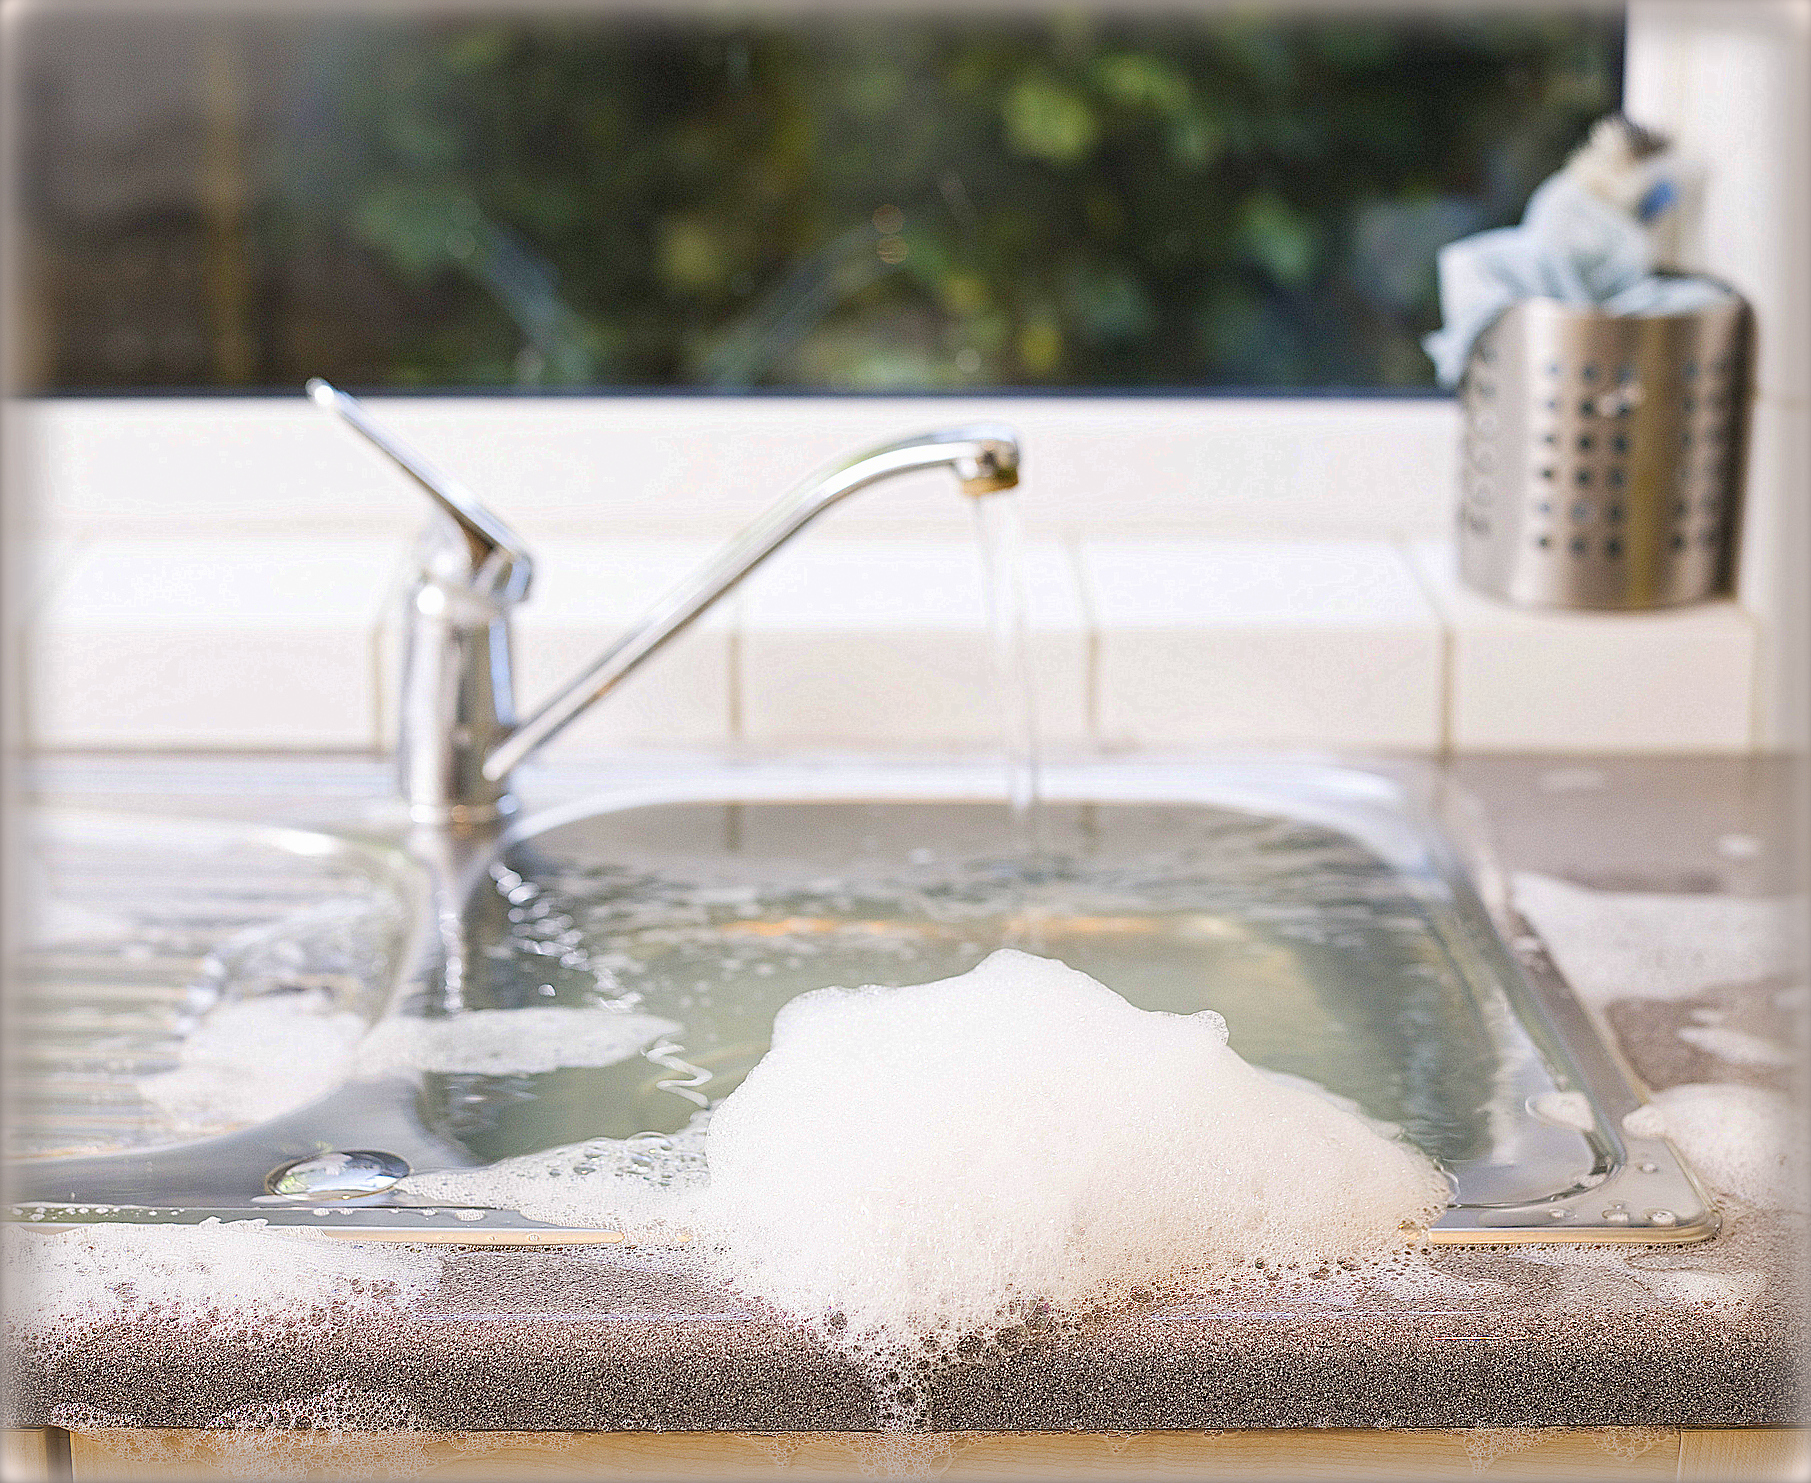
Overflowing kitchen sink
Remember It is a kitchen! Which is a wet area, from washing up dishes, Cooking & cleaning, you will not be able to avoid getting water on your sink to benchtop joint. If it is not 100% sealed, it is inevitable that water will make its way through not matter how small.
Now To The Fun Part, Well fun if you follow our detailed but easy process!
What you will need:
- Silicone Gun
- Spray Bottle
- Mould Resistant Silicone
- Arts & Craft Stick
- Clear dishwashing Liquid
- Box Cutter
Step 1
Now first off you need to make sure the surface is completely dry and completely clean, if there is any water in or even near the joint, the silicone won’t stick. If there is water you will need to clean what you can then allow adequate time for the joint to completely dry.
Step 2
You will now need your box cutter & a pair of pliers. Use the pliers to flatten the nozzle that will come with the tube of silicone. Now cut the nozzle on a 45 degree and so that when you cut the nozzle it will be in a similar shape to the stick for the best finish. See photos below.
Step 3
For this part you will need a steady hand. Run a bead of silicone around the sink to vanity. Make sure there is no air holes or you will be not only pulling your hair out, but also pulling the silicone out. Make sure it is a similar size to the photo. To big and it will look horrible, too small and it will not sure properly.
Step 4
Time to grab your spray bottle, fill it with water and add a few drops of a clear dishwashing liquid. Spray the bead of silicone, you would rather spray too much than too little & you can and will always wipe the excess water up with a cloth. Pull out your arts & craft stick, run it around the joint in a pulling motion. Stopping as you need to as the excess silicone will pile up, you can just wipe this on some paper towel, we are old school and use cut up newspaper, but that’s for another blog.
Step 5
Making sure you hand are completely clean, spray your finger with our magic water solution and run it around the finished bead to make sure both sides of the bead are stuck to the sink and the vanity. Now grab your cloth and clean up the excess water and wait for your perfect bead to dry.
Don’t forget these tips & tricks from the pro’s
- Your bead will need to be minimum 5 mm thick to make sure it cures properly
- You have to have a few drops of the dishwashing liquid in the spray bottle or the silicone will not clean off.
- When running arts & crafts stick around the bead. Remember pull not push!
How to make sure you new silicone lasts
when you have just spent all this time cutting out and then putting in the new silicone you want to make sure you get the longest life out of your hard work. So, read on to find out our tips to make sure you silicone doesn’t mold again.
What creates mold
Two things together will create mold and that is heat and water, when using your kitchen you can only control the heat so much as you will need to cook and clean etc. One thing you can control is how much water is there. You will need water to clean cook, and you still can, but once you have finished cleaning, make sure to wipe down all the excess water that is sitting on the silicone. This is what will be creating the mold, water sitting on it, so be sure to remove all water and enjoy a longer lasting fresh look in your kitchen.
What silicone to use
When choosing your silicone, there is so many options that it is hard not to get confused. Ever country offers a different range of silicones, some are for handymen & DIY and some are for professional caulkers and tradesmen. Make sure to ask about the amount of mold inhibitors used in the manufacturing of the silicone, If the hardware store attendant is unsure, it is worth speaking with the manufacturers directly, this will save you a lot of headaches in the future, trust me!
We use two silicone products and prefer to stick to European made products. The first one we use is Soudal which is made in Belgium and is a great and reliable product with the right amount of mold inhibitors. The second is Maxisil, which is a German made product and is filled with mold inhibitors and will be able to withstand the heat, germs and water that are often in a kitchen.
Conclusion
Be sure to follow the advice in this blog, we do this day in and day out and know what lasts and what doesn’t, Feel free to check out our other helpful article for any DIY caulking advice. Contact our Caulking Melbourne team today!
See How important is caulking your windows on your home & How to remove mold from shower caulking for more Caulking Tips!
GET IN TOUCH
Please contact Jono to discuss your individual job requirements.